Sourcegraph AWS AMI instances
Sourcegraph Amazon Machine Images (AMIs) allow you to quickly deploy a production-ready Sourcegraph instance tuned to your organization's scale in just a few clicks.
Following these docs will provision the following resources:
- An EC2 node running Sourcegraph
- A root EBS volume with 50GB of storage
- An additional EBS volume with 500GB of storage for storing code and search indices
Instance size chart
Select an AMI according and instance type to the number of users and repositories you have using this table. If you fall between two sizes, choose the larger of the two.
For example, if you have 8,000 users with 80,000 repositories, your instance size would be L. If you have 1,000 users with 80,000 repositories, you should still go with size M.
| XS | S | M | L | XL | |
|---|---|---|---|---|---|
| Users | <= 500 | <= 1,000 | <= 5,000 | <= 10,000 | <= 20,000 |
| Repositories | <= 5,000 | <= 10,000 | <= 50,000 | <= 100,000 | <= 250,000 |
| Recommended Type | m6a.2xlarge | m6a.4xlarge | m6a.8xlarge | m6a.12xlarge | m6a.24xlarge |
| Minimum Type | m6a.2xlarge | m6a.2xlarge | m6a.4xlarge | m6a.8xlarge | m6a.12xlarge |
| AMIs List | size-XS AMIs | size-S AMIs | size-M AMIs | size-L AMIs | size-XL AMIs |
Click here to see the completed list of AMI IDs published in each region.
IMPORTANT The default AMI user name is ec2-user.
Deploy Sourcegraph
- In the instance size chart, click the link for the AMI that matches your deployment size.
- Choose Launch instance from AMI.
- Name your instance.
- Select an instance type according to the sizing chart.
- Key pair (login): Select or create a new Key Pair for connecting to your instance securely (this may be required in the event you need support).
- Network settings:
- Under "Auto-assign public IP" select "Enable".
- Select a Security Group for the instance, or create one with the following rules:
- Allow SSH from Anywhere (port range 22, source 0.0.0.0/0, ::/0)
- Allow HTTPS from the internet (port range 443, source 0.0.0.0/0, ::/0)
- Allow HTTP traffic from the internet (port range 80, source 0.0.0.0/0, ::/0)
- NOTE: If you do not wish to have HTTP/HTTPS exposed to the public internet, you may later choose to remove these rules so that all traffic routes through your AWS load balancer.
- Configure storage:
- Root Volume: 50GB
- EBS Volume: 500GB - this should be at least 25-50% more than the size of all your repositories on disk (you may check your GitHub/BitBucket/GitLab instance's disk usage.)
- Click Launch instance, and navigate to the public IP address in your browser. (Look for the IPv4 Public IP value in your EC2 instance page under the Description panel.)
Once the instance has started, please allow ~5 minutes for Sourcegraph to initialize. During this time you may observe a 404 page not found response.
To configure SSL, and lock down the instance from the public internet, see the networking section.
Executors
Executors are supported using native kubernetes executors.
Executors support auto-indexing and server-side batch changes.
To enable executors you must do the following:
- Connect to the AMI instance using
ssh - Run
cd /home/ec2-user/deploy/install/ - Replace the placeholder
executor.frontendPasswordinoverride.yaml - Run the following command to update the executor
helm upgrade -i -f ./override.yaml --version "$(cat /home/ec2-user/.sourcegraph-version)" executor ./sourcegraph-executor-k8s-charts.tgz
- Add the following to the site-admin config using the password you chose previously
"executors.accessToken": "<exector.frontendPassword>",
"executors.frontendURL": "http://sourcegraph-frontend:30080",
"codeIntelAutoIndexing.enabled": true
- Check
Site-Admin > Executors > Instancesto verify the executor connected successfully. If it does not appear try reboot the instance
To use server-side batch changes you will need to enable the native-ssbc-execution feature flag.
Networking
We suggest using an AWS Application Load Balancer (ALB) to manage HTTPS connections to Sourcegraph. This makes managing SSL certificates easy.
Creating an AWS Load Balancer
- Request a certificate for the domain name in AWS Certificate Manager
- Create a target group for
HTTPS Port 443that links to the instance'sPort 443 - Create a new subnet inside the instance VPC
- Create a new Application Load Balancer via AWS Load Balancers
Step 1: Request certificate
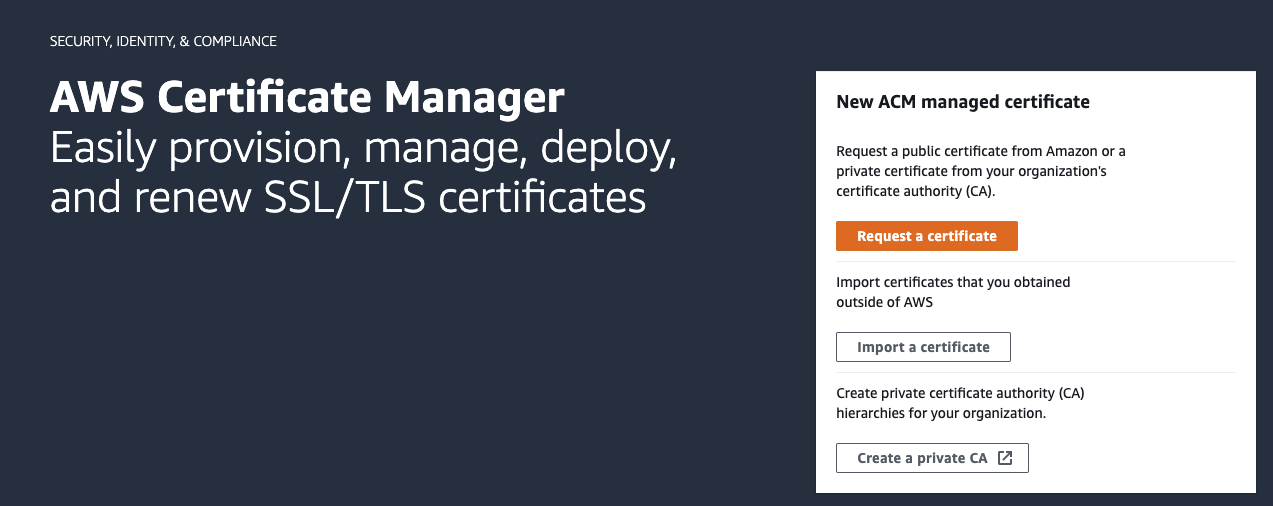
Open the AWS Certificate Manager console to Request a certificate:
- Domain names: Fully qualified domain name: your domain
- Select validation method: DNS validation—recommended
After the certificate has been created, you will need to attach the CNAME name and CNAME values to your DNS.
Follow the steps below to attach the CNAME to your DNS if your DNS is hosted in AWS route 53:
- Click Create record in route 53 in the certificate dashboard
- Select the DNS you would like to attach the certificate to
- Click Create records once you have verified the information is correct
- Wait ~30 mins before the validation is completed
Step 2: Create a target group
- Click Create a target group on your EC2 Target groups dashboard
- Choose a target type: Instance
- Target group name: name
- Protocol: HTTPS
- Port: 443
- VPC: Select the VPC where your instance is located
- Protocol version: HTTP2
- Health checks: Use Default
- Click Include as pending below
Step 3: Create subnets
Click Create subnet in your VPC subnets dashboard:
- VPC ID: Selected the VPC that the instance is in
- Subnet name: name the subnet
- Availability Zone: select an availability zone that is different from the current zone
- Click Create subnet
Step 4: Create an Application Load Balancer
- Open your EC2 Load Balancers dashboard to Create Load Balancer.
- Choose Application Load Balancer as the Load balancer types using the following configurations:
- Basic configuration
- Load balancer name: name
- Scheme: Internet-facing
- IP address type: IPv4
- Network mapping
- VPC: Selected the VPC that the instance is in
- Mapping: Select two subnets associated with the selected VPC
- Security groups
- Security groups: Make sure only the security group associated with the instance is selected
- Listeners and routing
- Protocol: HTTPS
- Port: 443
- Default action: Select the HTTPS target group created for the instance
Securing your instance
Configure user authentication (SSO, SAML, OpenID Connect, etc.) to give users of your Sourcegraph instance access to it.
Now that your instance is confirmed to be working, and you have HTTPS working through an Amazon load balancer, you may choose to secure your Sourcegraph instance further by modifying the security group/firewall rules to prevent access from the public internet. You can do this by modifying the security group/firewall rules.
Upgrade
Please take time to review the following before proceeding with the upgrades:
IMPORTANT Back up your volumes before each upgrade
Step 1: Stop the current instance
- Stop your current Sourcegraph AMI instance
- Go to the ECS console for your instance
- Click Instance State to Stop Instance
- Detach the non-root data volume (Device name: /dev/sdb/)
- Go to the Storage section in your instance console
- Find the volume with the device name /dev/sdb
- Select the volume, then click Actions to Detach Volume
- Give the volume a name for identification purposes
- Make a note of the VPC name
Step 2: Launch a new instance
- Launch a new Sourcegraph instance from an AMI with the latest version of Sourcegraph
- Name the instance
- Select the appropriate instance type
- Under Key Pair
- Select the Key Pair used by the old instance
- Under Network settings
- Select the Security Group used by the old instance
- Under Configure storage
- Remove the second EBS volume
- After reviewing the settings, click Launch Instance
- Attach the detached volume to the new instance
- Go to the Volumes section in your ECS Console
- Select the volume you've detached earlier
- Click Actions > Attach Volume
- On the
Attach volumepage:
- Instance: select the new Sourcegraph AMI instance
- Device name: /dev/sdb
- Reboot the new instance
You can terminate the stopped Sourcegraph AMI instance once you have confirmed the new instance is up and running.
Downgrade
Please refer to the upgrade procedure above if you wish to rollback your instance.
Storage and Backups
We strongly recommend you taking snapshots of the entire EBS volume on an automatic, scheduled basis.