Commands
Learn how Commands can kick-start your workflow with reusable prompts.
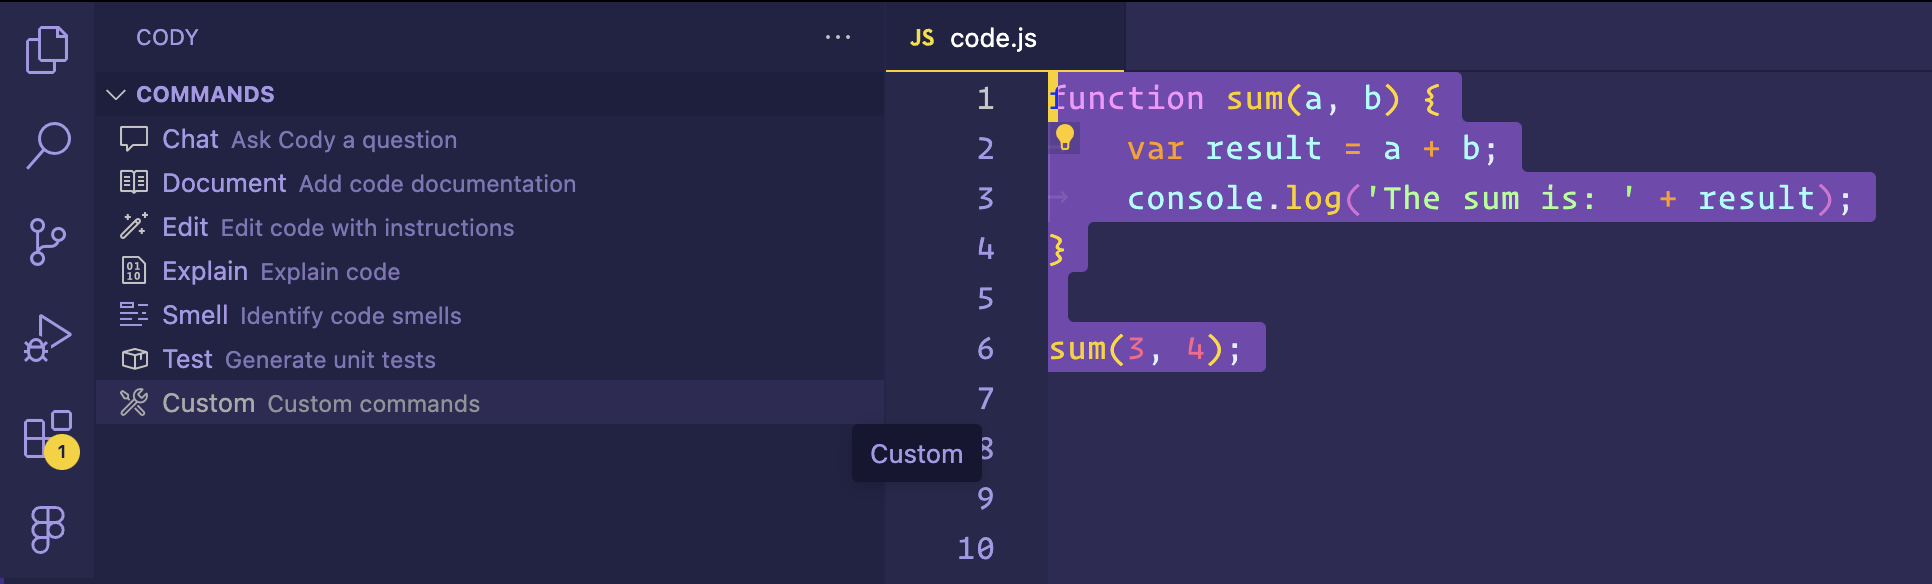
Cody offers quick, ready-to-use commands for common actions to write, describe, fix, and smell code. These allow you to run predefined actions with smart context-fetching anywhere in the editor. Like autocomplete and chat, commands will search for context in your codebase to provide more contextually aware and informed answers.
Commands are available in VS Code, JetBrains, and the Sourcegraph web app. Commands can handle tasks like:
- Editing and fixing code (
edit) - Explaining code (
explain) - Generating unit tests (
test) - Writing documentation (
doc) - Improving code quality (
smell)
Support for commands may vary by IDE extension. Read the feature parity reference to learn what commands are available in your IDE.
Running commands
The process of running a command varies from one IDE to another. For example, in VS Code, there are several ways to run a command:
- Highlight your code and select the command from the sidebar
- Open up the command palette with
Option+CAlt+C - Right-click on any code element and select Cody > Choose a command from the list
- Type
/in the chat bar. Cody will then suggest a list of available commands
Custom commands
Custom Commands allow you to create and define reusable prompts for Cody tailored to your development workflows. They are defined in JSON format and will enable you to call CLI tools, write custom prompts, and select context to be sent to Cody. This provides a flexible way to configure Cody to handle use cases like:
- Integrate with your build system to suggest fixes for errors/warnings in the latest build
- Analyze software dependencies output to explain compatibility or suggest upgrades
- Read test command failures to explain and suggest fixes
- Explain code quality output like linter warnings
Creating a custom command
You can create a custom command by editing the configuration JSON file or using the command builder within the VS Code editor. To access the command builder within VS Code:
- Open the Cody commands menu (
⌥Con Mac orAlt-Con Windows/Linux) - Select Custom Commands > New Custom Command
- Type the slash
/name you want to use, for example,/my-custom-command - Next, write a suitable description for the command in sentence case. For example,
Compare files in open tabsorExplain current directory - Provide the relevant instructions for Cody to follow. This is the
promptthat Cody will use to pass relevant context to the LLM - Then, select one or more options for the context Cody should use to generate responses
- Finally, choose whether to save the command locally or share it with your workspace
- Press Enter to complete the process, and your custom command is successfully created
- You can hit
esckey at any time to discard a new custom command
Running custom commands
You can invoke custom commands with the same hotkey as predefined commands. Once created, your custom commands will appear with the rest of the predefined commands in the chat and command palette lists. Let's type /my-custom-command in the chat window, and it will appear. Now, you can run this new command on your code and get answers to your questions accordingly.

Alternatively, you can right-click the selected code and select Cody > Custom Commands.
Configuring file paths
Custom commands can be defined in the following two file paths:
- User Settings (
~/.vscode/code.json): Stored locally. Use this for personal commands to use across all your projects - Workspace Settings (
.vscode/cody.json): Stored in your project’s repository. Use this to share commands with others working on the same codebase and for project-specific commands
If you select User Settings, the new custom command will only be available to you. If you select Workspace Settings (as an enterprise user), the custom command will also be available to your teammates.
See the examples and configuration properties below for more details on configuring custom commands.
Examples
/commit-message
{
  "commit-message": {
    "description": "Commit message for current changes",
    "prompt": "Suggest an informative commit message by summarizing code changes from the shared command output. The commit message should follow the conventional commit format and provide meaningful context for future readers.",
    "context": {
      "selection": false,
      "command": "git diff --cached"
    }
  }
}
/compare-tabs
{
  "compare-tabs": {
    "description": "Compare files in opened tabs",
    "prompt": "Examine the shared code snippets from my opened tabs. Then explain the relationship between the code samples by answering these questions: 1. What are the main tasks or functions the code is performing? 2. Are there any similarities in functions or logic across the samples? 3. Does one code snippet call or import another? If so, how do they interact? 4. Are there any notable differences in how they approach similar problems? 5. Overall, how are the code snippets related - do they work together as part of a larger program, solve variants of the same problem, or serve entirely different purposes?",
    "context": {
      "openTabs": true,
      "selection": false
    }
  }
}
/current-dir
{
  "current-dir": {
    "description": "Explain current directory",
    "prompt": "At a high level, explain what this directory is used for.",
    "context": {
      "currentDir": true,
      "seleection": false
    }
  }
}
/latest-cody-release
{
  "latest-cody-release": {
    "description": "Summarize latest Cody release",
    "prompt": "What is the latest stable version of Cody? Briefly summarize the changes that were included in that release based on this CHANGELOG excerpt.",
    "context": {
      "selection": false,
      "command": "curl https://raw.githubusercontent.com/sourcegraph/cody/main/vscode/CHANGELOG.md | head -n 50"
    }
  }
}
/readme
{
  "readme": {
    "description": "Readme for current dir",
    "prompt": "Write a detailed README.md file to document the code located in the same directory as my current selection. Summarize what the code in this directory is meant to accomplish. Explain the key files, functions, classes, and features. Use Markdown formatting for headings, code blocks, lists, etc. to make the it organized and readable. Aim for a beginner-friendly explanation that gives a developer unfamiliar with the code a good starting point to understand it. Make sure to include: - Overview of directory purpose - Functionality explanations - Relevant diagrams or visuals if helpful. Write the README content clearly and concisely using complete sentences and paragraphs based on the shared context. Use proper spelling, grammar, and punctuation throughout. Surround your full README text with triple backticks so it renders properly as a code block. Do not make assumptions or fabricating additional details.",
    "context": {
      "currentDir": true,
      "selection": true
    }
  }
}
/recent-git-changes
{
  "recent-git-changes": {
    "description": "Summarize recent changes",
    "prompt": "Summarize the given git changes in 3-5 sentences",
    "context": {
      "command": "git log -10 --pretty=format:'%h - %an: %s' --stat",
      "selection": false
    }
  }
}
Configuration properties
commands (required)
- An object containing the commands
- Type:
object - Example:
{ "commands": {} }
commands.<id> (required)
- The slash name used for the command
- Type:
string - Example:
"summarize-git-changes"
commands.<id>.description (required)
- A short, sentence-case string description of what the command does
- Type:
string - Example:
"Summarize recent git changes"
commands.<id>.prompt
- The set of instructions for Cody
- Type:
string - Example:
"Summarize the given git changes in 3-5 sentences"
commands.<id>.mode
-
The interaction mode to use
-
Type:
string -
Default:
"ask"Values:
"ask"— Focus the chat view and add to the current chat"inline"— Start a new inline chat"insert"— Insert the response above the code"replace"— Replace the code with the response
commands.<id>.context
- Optional context data to generate and pass to Cody
- Type:
object - Default:
{ "codebase": true }
commands.<id>.context.codebase
- Include embeddings and/or keyword code search (depending on availability)
- Type:
boolean - Default:
true
commands.<id>.context.command
- Terminal command to run and include the output of
- Type:
string - Default:
"" - Example:
"git log --since=$(git describe --tags --abbrev=0) --pretty='Commit author: %an%nCommit message: %s%nChange description:%b%n'"
commands.<id>.context.currentDir
- Include snippets from first 10 files in the current directory
- Type:
boolean - Default:
false
commands.<id>.context.currentFile
- Include snippets from the current file. If the file is too long, only the content surrounding the current selection will be included
- Type:
boolean - Default:
false
commands.<id>.context.directoryPath
- Include snippets from the first five files within the given relative path of the directory. Content will be limited and truncated according to the token limit
- Type:
string - Default:
"" - Example:
"lib/common"
commands.<id>.context.filePath
- Include snippets from the given file path relative to the codebase. If the file is too long, content will be truncated
- Type:
string - Default:
"" - Example:
"CHANGELOG.md", "test/unit/example.test.ts"
commands.<id>.context.none
- Provide only the prompt, and no additional context. If
true, overrides all other context settings - Type:
boolean - Default:
false
commands.<id>.context.openTabs
- Include the text content of opened editor tabs
- Type:
boolean - Default:
false
commands.<id>.context.selection
- Include currently selected code. When not specified, Cody will try to use visible content from the current file instead
- Type:
boolean - Default:
false