Quickstart for Notebooks
Create your first Notebook in minutes.
Introduction
In this guide, you'll create your first Notebook
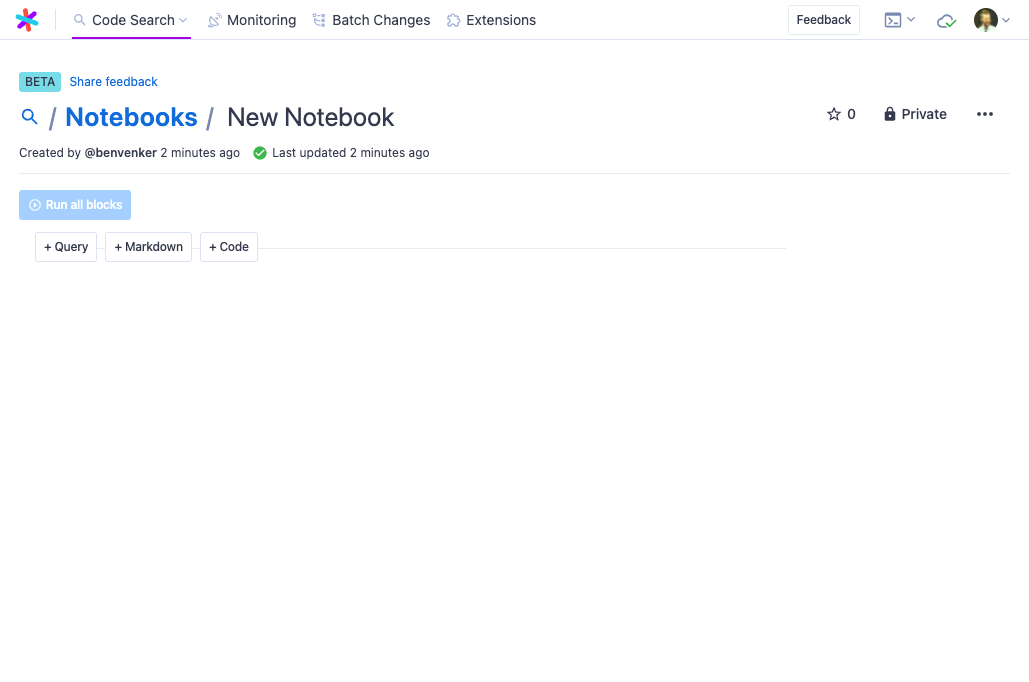
The Notebooks interface
The Notebooks interface will be familiar if you've ever used Jupyter or iPython notebooks before.
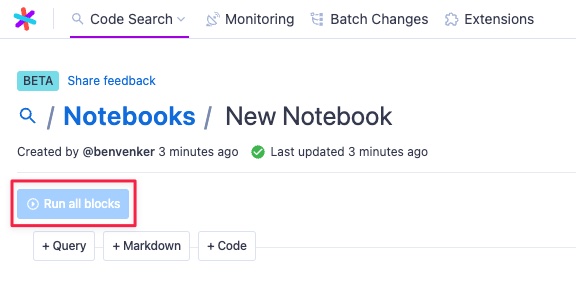
Run all blocks
The Run all blocks button allows you to render all the blocks in the Notebook with one click. You'll want to get in the habit of using this button every time you start reading a Notebook.
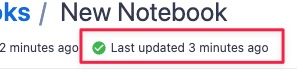
Autosave
Notebooks are automatically saved so you'll never lose your work.
Supported block types
Like Jupyter notebooks, Sourcegraph Notebooks support Markdown. They also support two special block types: Query and Code.
Query blocks
Query blocks allow you to enter any valid Sourcegraph query and view the results right inside the notebook. The query block input supports the same typeahead functionality as the main Sourcegraph search bar.
Markdown blocks
Markdown blocks support all the Markdown features you'd expect, including rendering images and syntax highlighting.
Code blocks
Code blocks are another special block type that allow you show a file range from any file on Sourcegraph. You can use the interface to fill in the range you want, or just select a code block and paste in a valid Sourcegraph URL to have the inputs auto-filled.

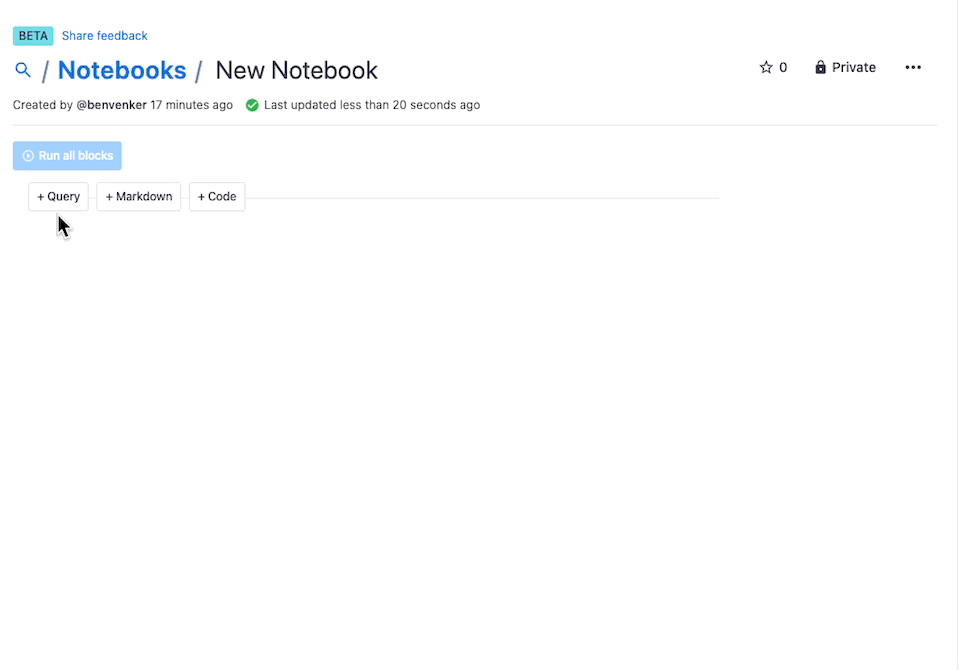
Create a new Notebook
- Navigate to https://sourcegraph.com/notebooks and click "Create notebook".
- Click on the name to edit and rename the Notebook "React components"
- Create a Markdown block and enter the text below.
# React class components
React class components are no longer the preferred style of component creation. Today, functional components are the standard. Below are some examples of class components in the Sourcegraph codebase.
- Click the render button, or press Cmd+Return to render the block
- Next, create a query block and enter the following query to find some examples of class components in the Sourcegraph codebase.
repo:^github\.com/sourcegraph/sourcegraph$ lang:TypeScript extends React
- Render the block with Cmd+Return
- Next, let's find some recent commits that include class components.
- Click the "duplicate" button to duplicate the block and modify the query to return commits that added our search phrase.
repo:^github\.com/sourcegraph/sourcegraph$ lang:TypeScript extends React type:diff select:commit.diff.added
- Your Notebook should now look like this.
- Optional: share you notebook by clicking "Private" at the top right of the screen and select "Public" to share your Notebook with the community!
Next steps
Congratulations on creating your first Notebook! Next, get some inspiration from the Notebooks created by Sourcegraph team members and the wider community by exploring public Notebooks.