Cody for Web
Learn how to use Cody in the web interface with Sourcegraph.com
In addition to the Cody extensions for VS Code, JetBrains IDEs, and Neovim, Cody is also available in the Sourcegraph web app. Community users can use Cody for free by logging into their accounts on Sourcegraph.com, and enterprise users can use Cody within their Sourcegraph instance.
 Cody for Web
Initial setup
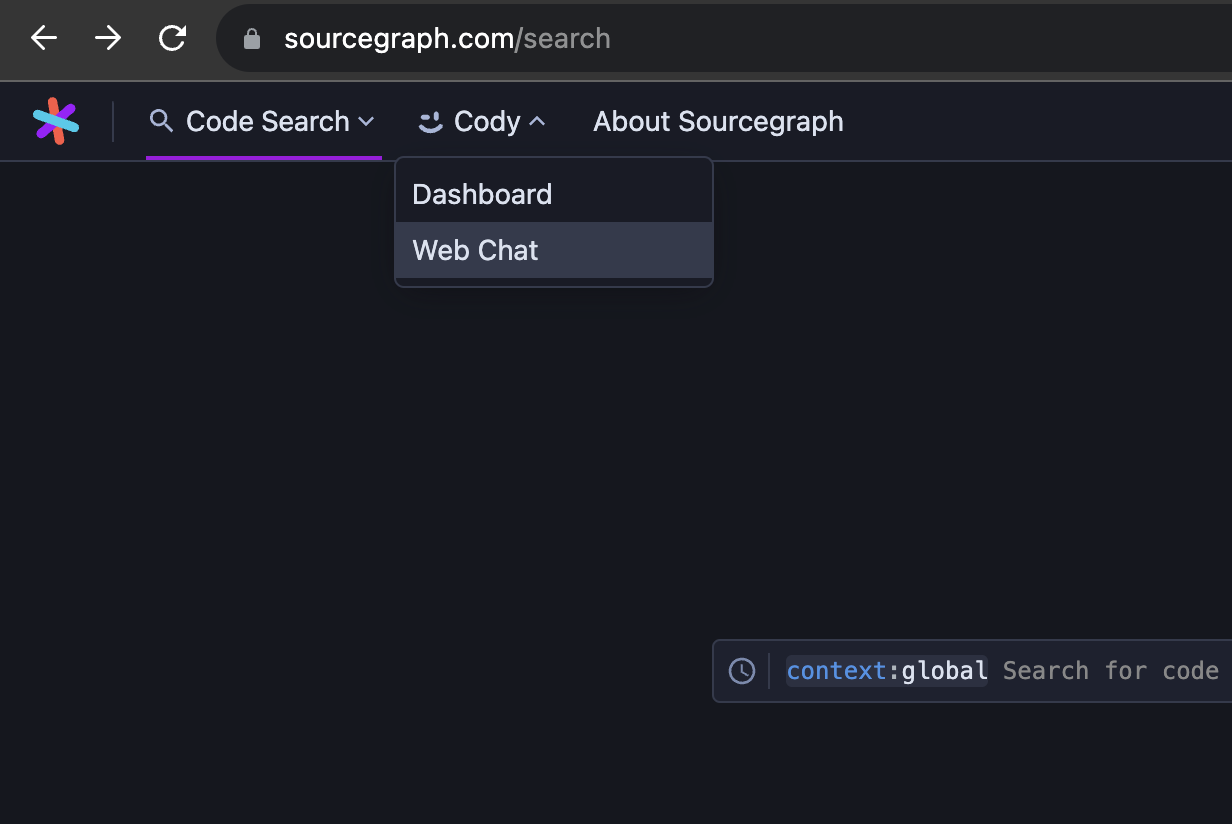
Create a Sourcegraph.com account by logging in through codehosts like GitHub and GitLab or via traditional Google sign-in. This takes you to Sourcegraph’s web interface, where you can chat with and get help from Cody by opening Cody > Web Chat.
Enterprise users can also log in to their Sourcegraph.com Enterprise instance and use Cody in the web interface.
Using Cody chat
To view how Cody works in the web, open Cody Web Chat. Here, you can ask Cody general coding questions or questions about the repositories you care about.
You can view the default Ask Cody chat interface on the right sidebar. Once connected, Cody automatically gains context to your connected codebase to help you provide contextually-aware and accurate answers to your questions. There are also example questions that you can use to get started.
When using Cody chat in the web, you can select up to 10 repositories to use as context for your question. If you’re logged in to Sourcegraph.com, these can be any 10 open source repositories that Sourcegraph indexes. If you are an enterprise customer logged in to your company’s Sourcegraph instance, these can be any 10 repositories (both private or public) indexed by your admin.
You can also chat with Cody in the sidebar of any project you have open. Use Sourcegraph search to find a repo and click the Ask Cody button to start.
Run Commands
You can also run predefined, reusable prompts Cody Commands on your Code Search results. These help you generate contextually aware answers for a selected code snippet or the entire codebase. You can run the following commands:
- Explain code
- Generate a docstring
- Smell code for bugs
- Generate a unit test
- Improve variable names
- Transpile code to a programming language of your choice
More resources
For more information on what to do next, we recommend the following resources: