Configuring user credentials
In order to publish changesets with campaigns, you need to add a personal access token for each code host that your campaigns interact with. These tokens are used by Sourcegraph to create and manage changesets as you, and with your specific permissions, on the code host.
Requirements
- Sourcegraph instance with repositories in it. See the "Quickstart" guide on how to setup a Sourcegraph instance.
Adding a personal access token
Adding personal access tokens is done through the the Campaigns section of your user settings:
- From any Sourcegraph page, click on your avatar at the top right of the page.
- Select Settings from the dropdown menu.
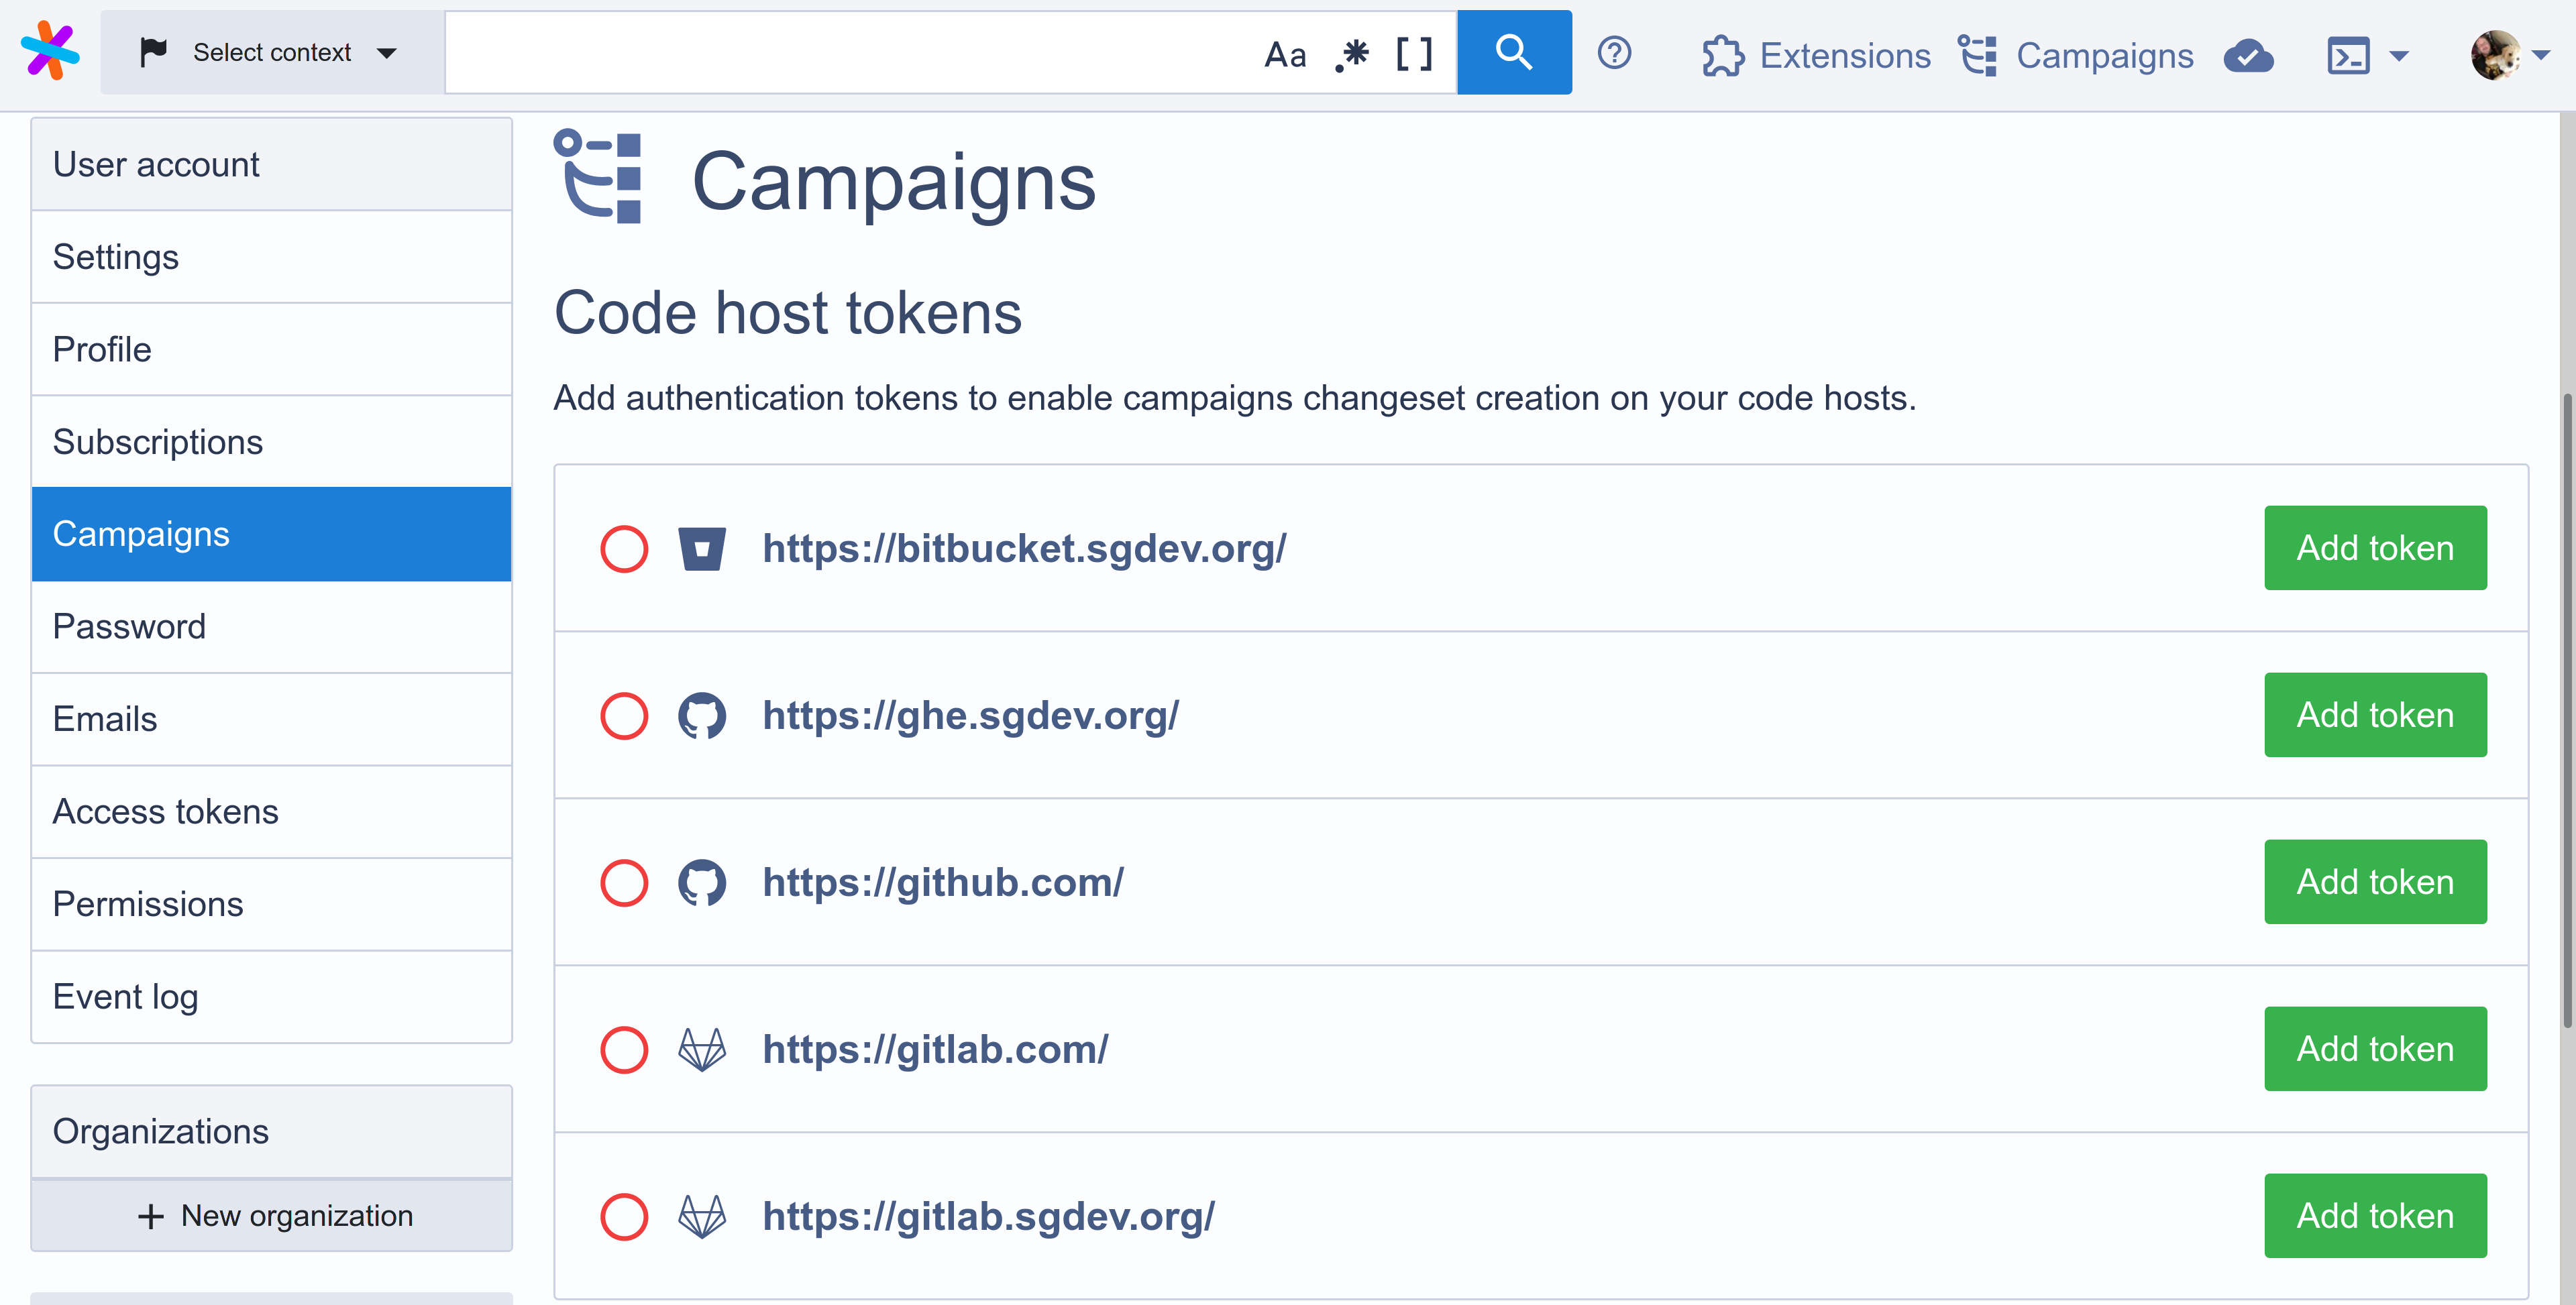
- Click Campaigns on the sidebar menu.
You should now see a list of the code hosts that are configured on Sourcegraph. Code hosts with tokens configured are indicated by a green tick, while code hosts without tokens have an empty red circle next to them.
To add a token for a code host, click on the Add token button next to its name. This will display an input modal like the following:
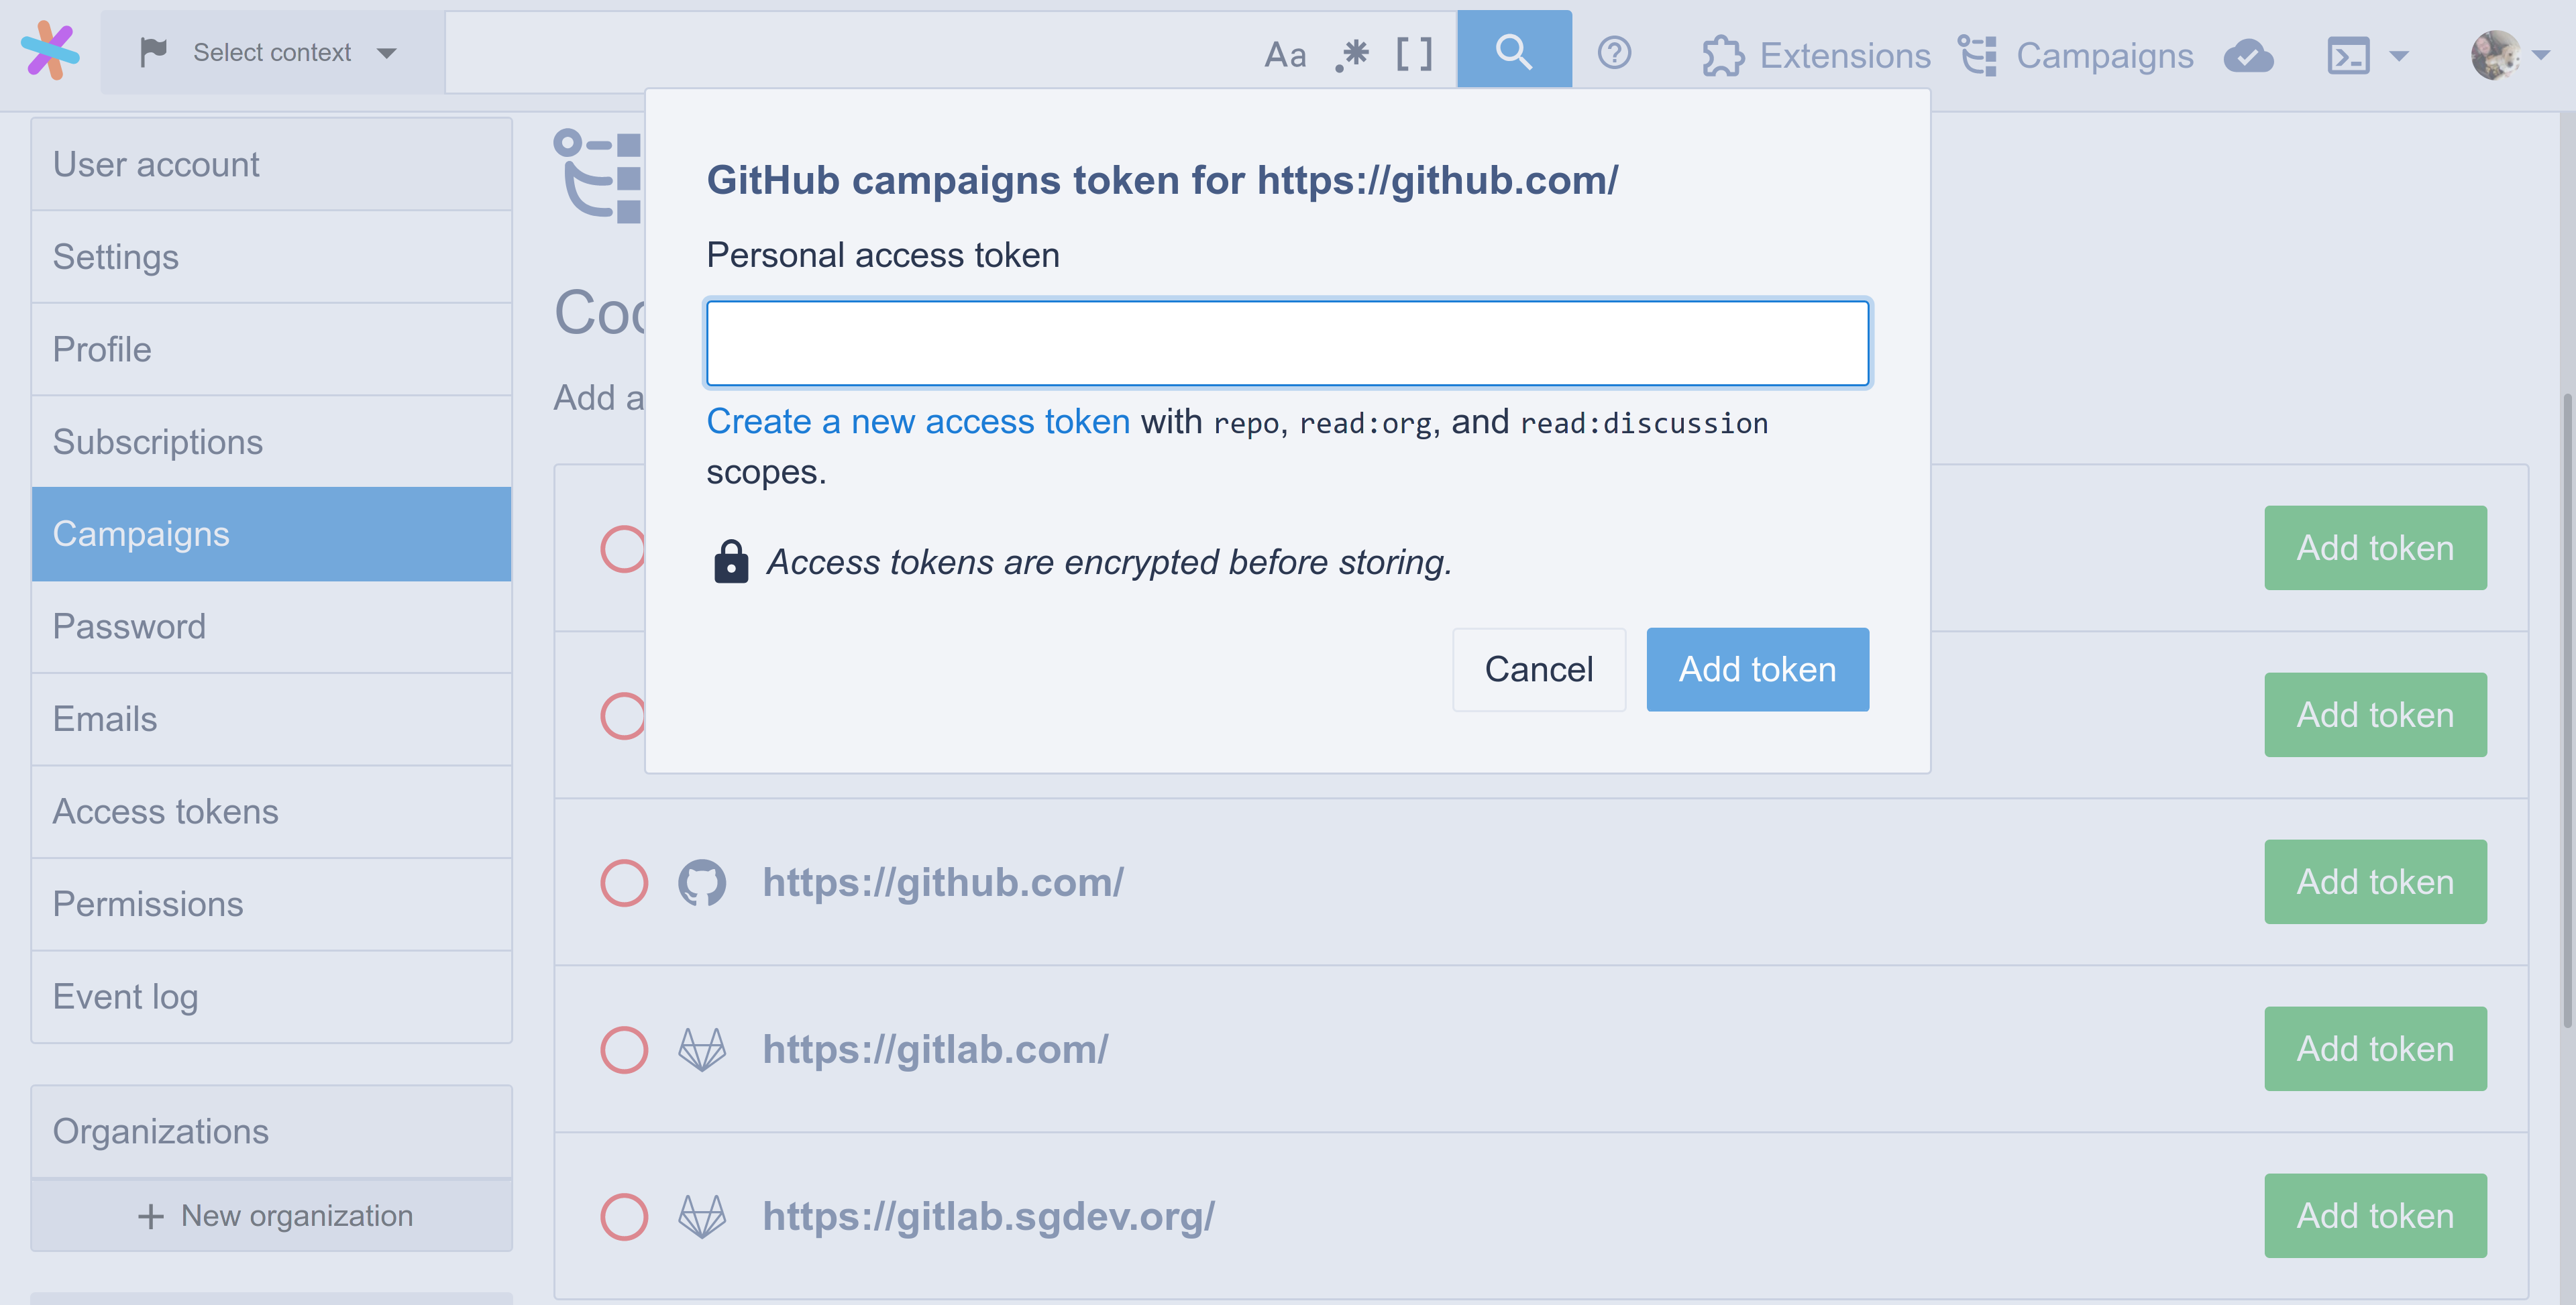
To create a personal access token for a specific code host provider, please refer to the relevant section for "GitHub", "GitLab", or "Bitbucket Server". Once you have a token, you should paste it into the Sourcegraph input shown above, and click Add token.
Once this is done, Sourcegraph should indicate that you have a token with a green tick:

GitHub
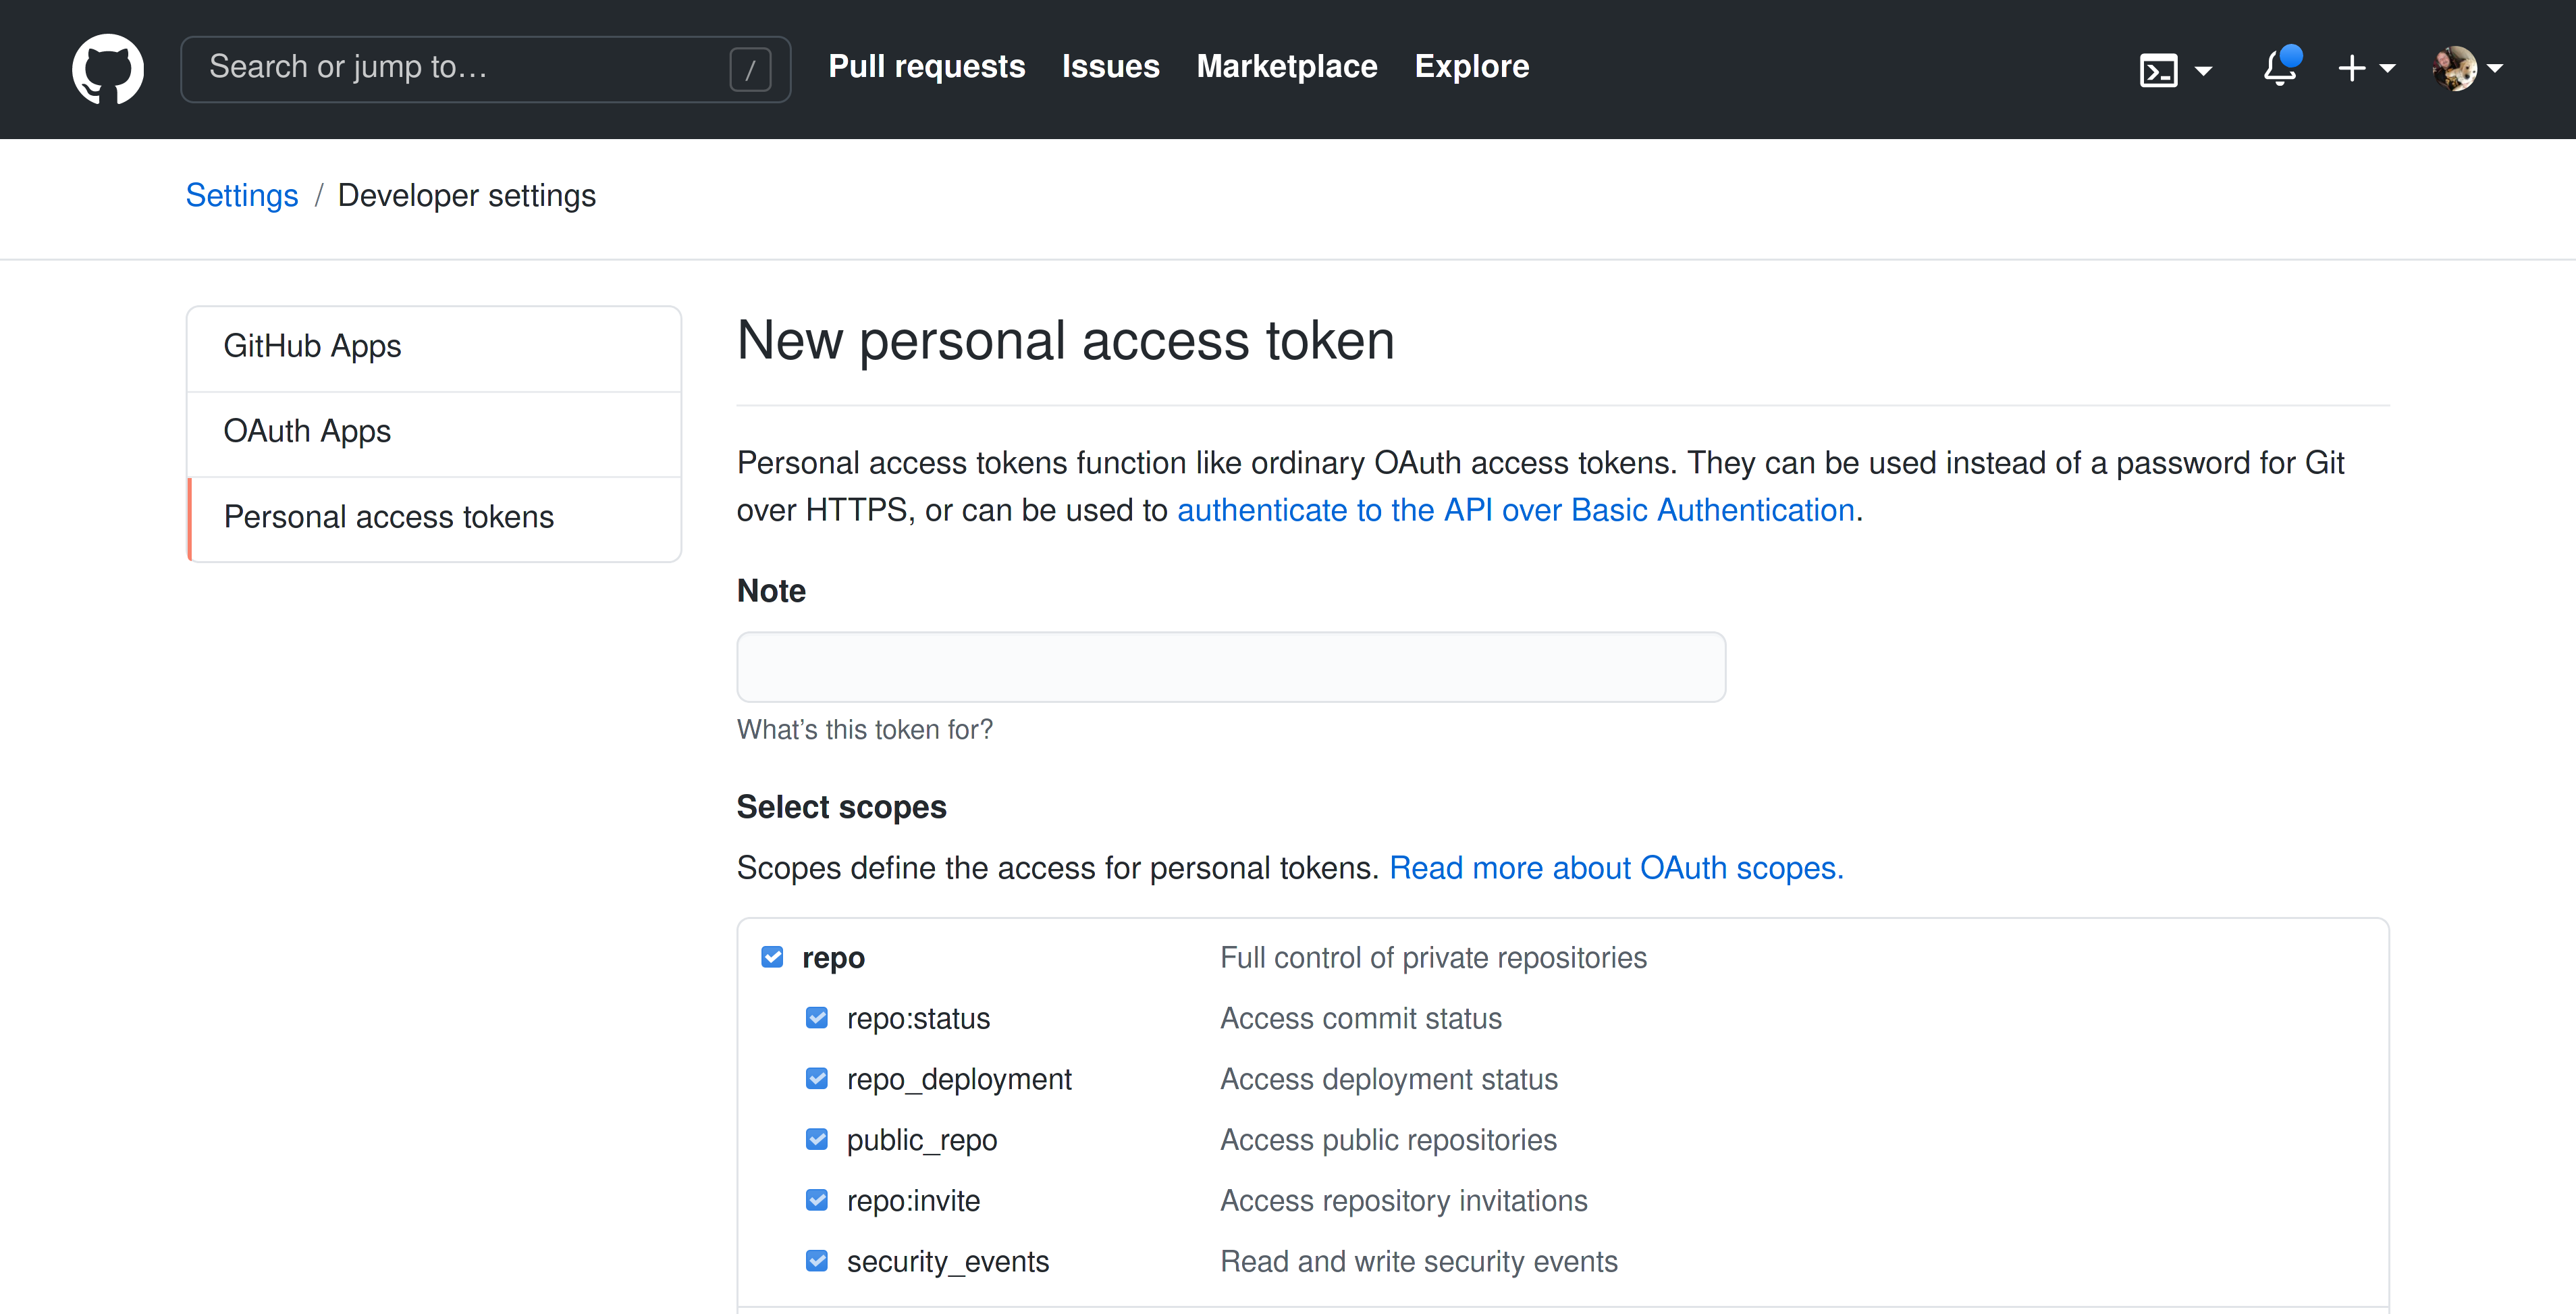
In addition to the below, you should refer to GitHub's documentation on creating a personal access token.
Sourcegraph requires the repo, read:org, and read:discussion scopes to be enabled on the user token. This is done by selecting the relevant checkboxes when creating the token:
GitLab
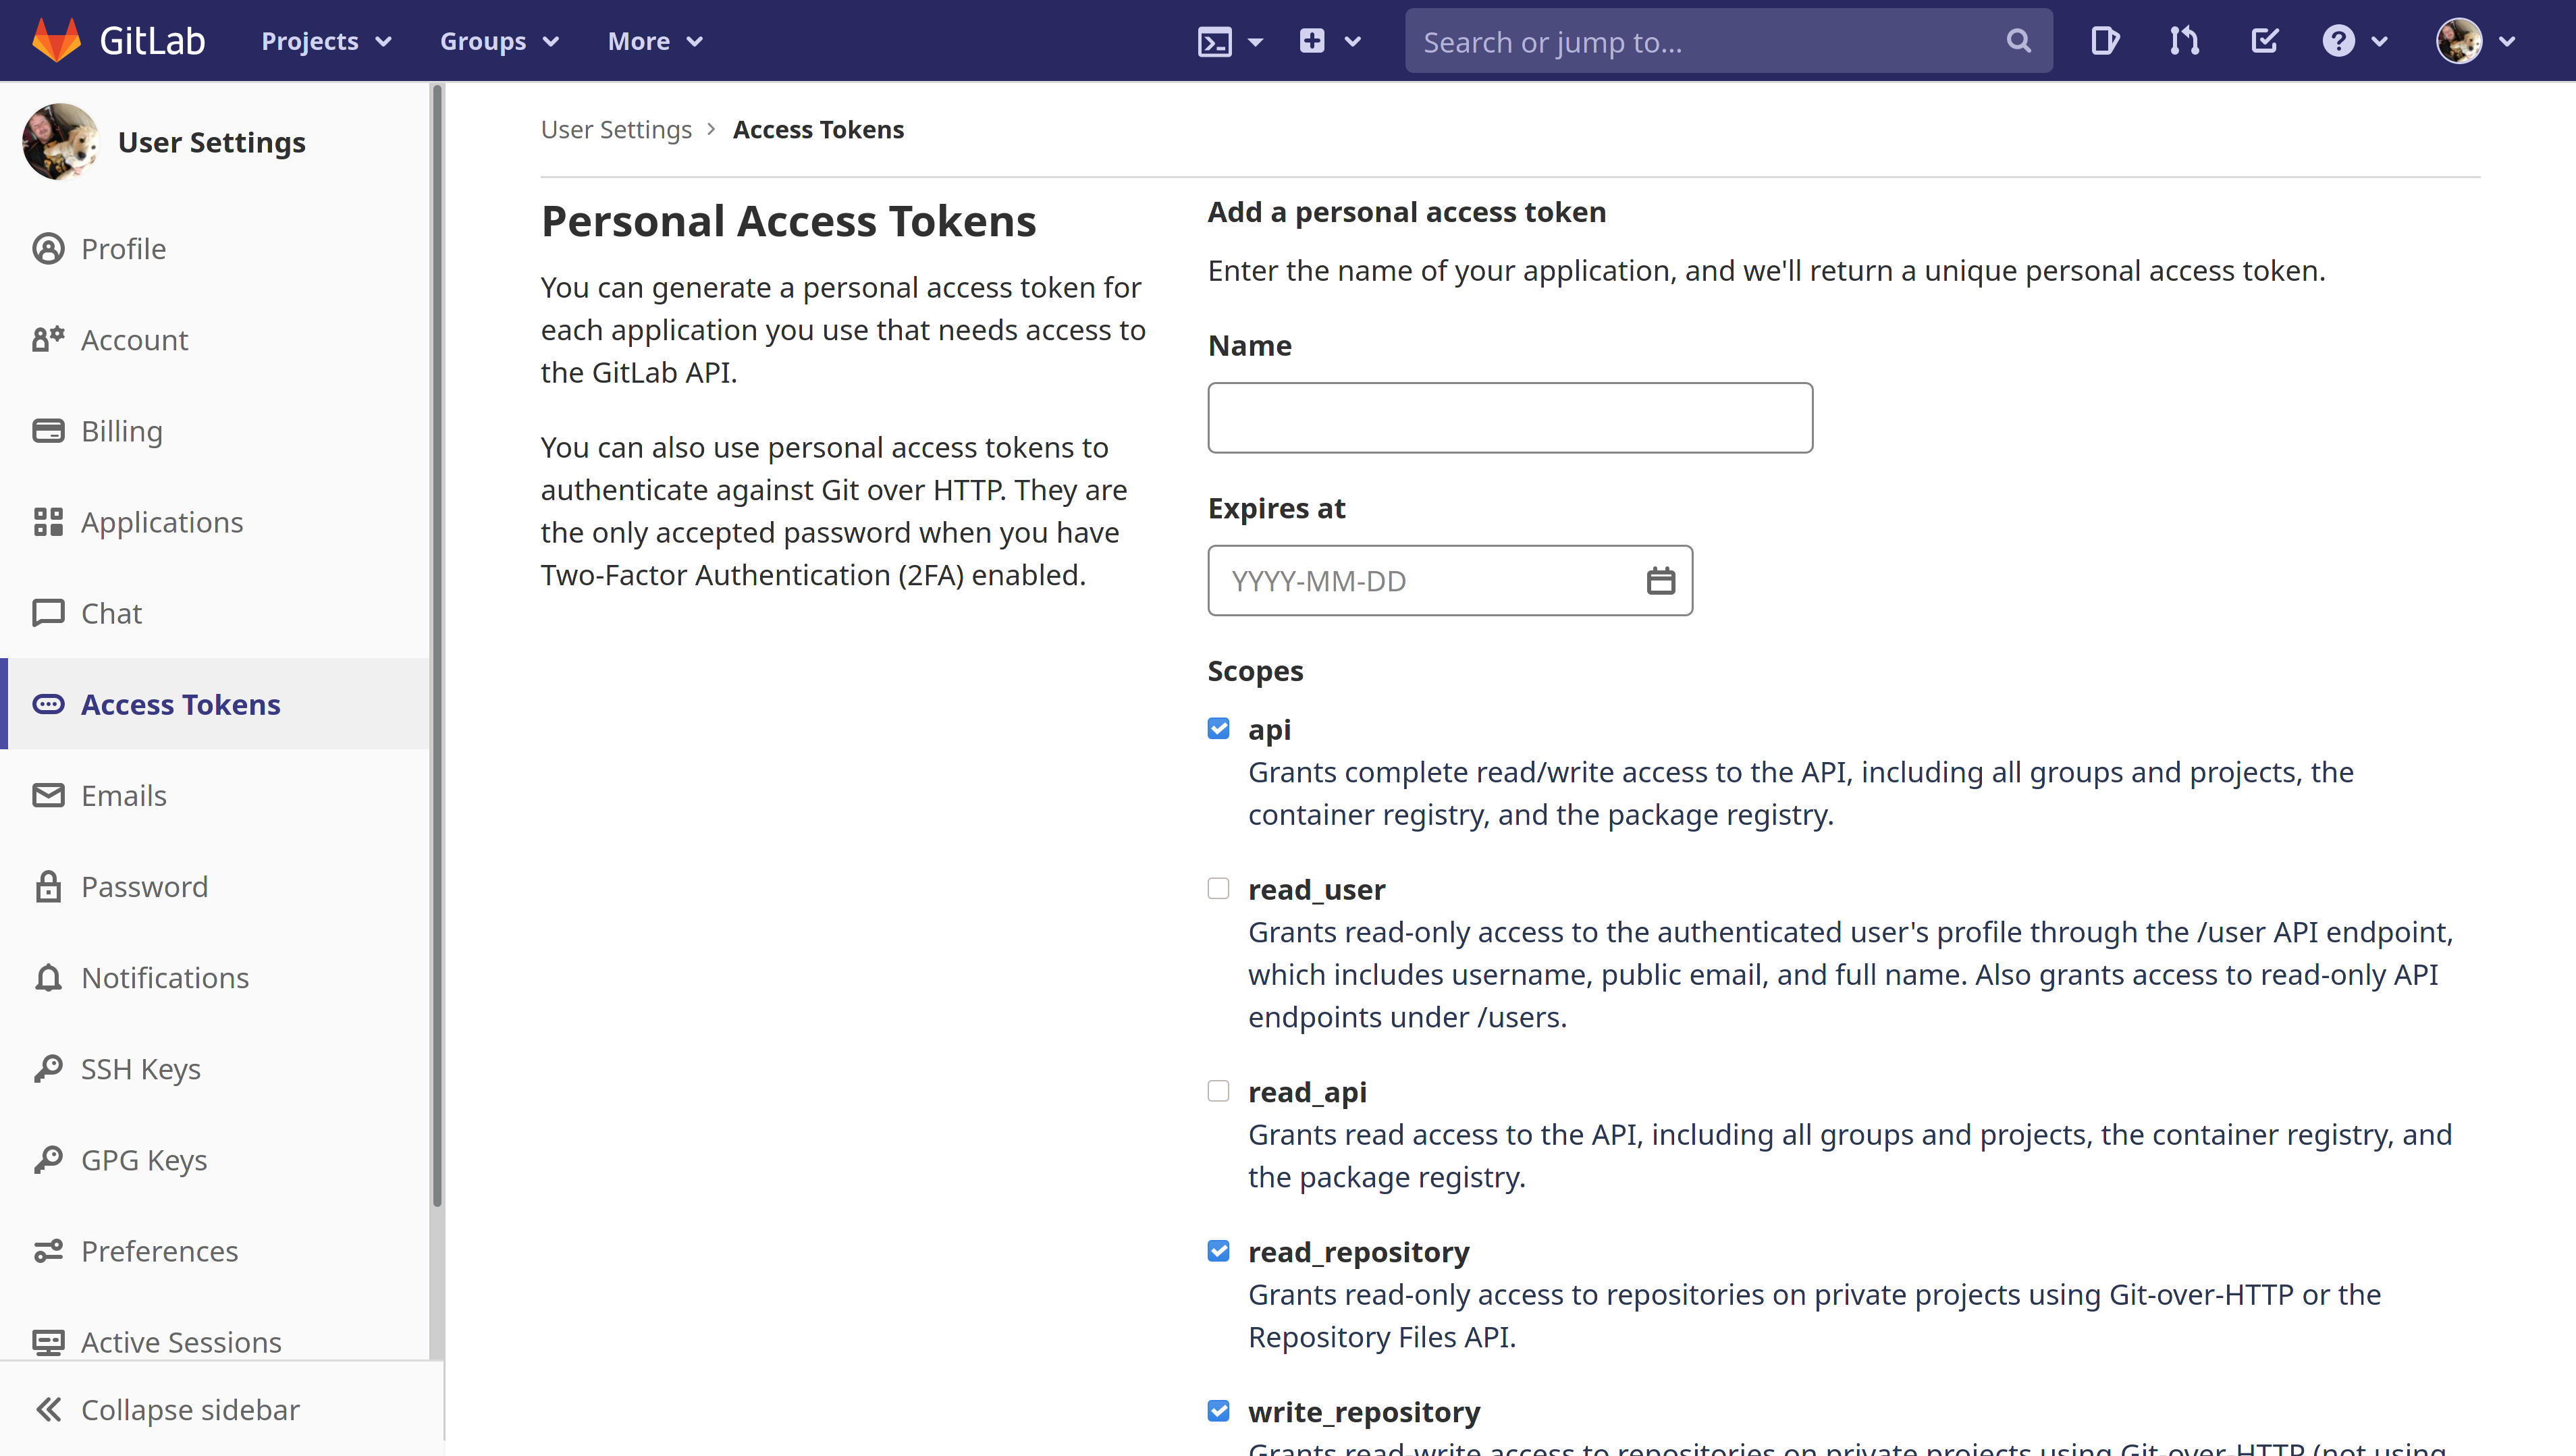
In addition to the below, you should refer to GitLab's documentation on creating a personal access token.
Sourcegraph requires the api, read_repository, and write_repository scopes to be enabled on the user token. This is done by selecting the relevant checkboxes when creating the token:
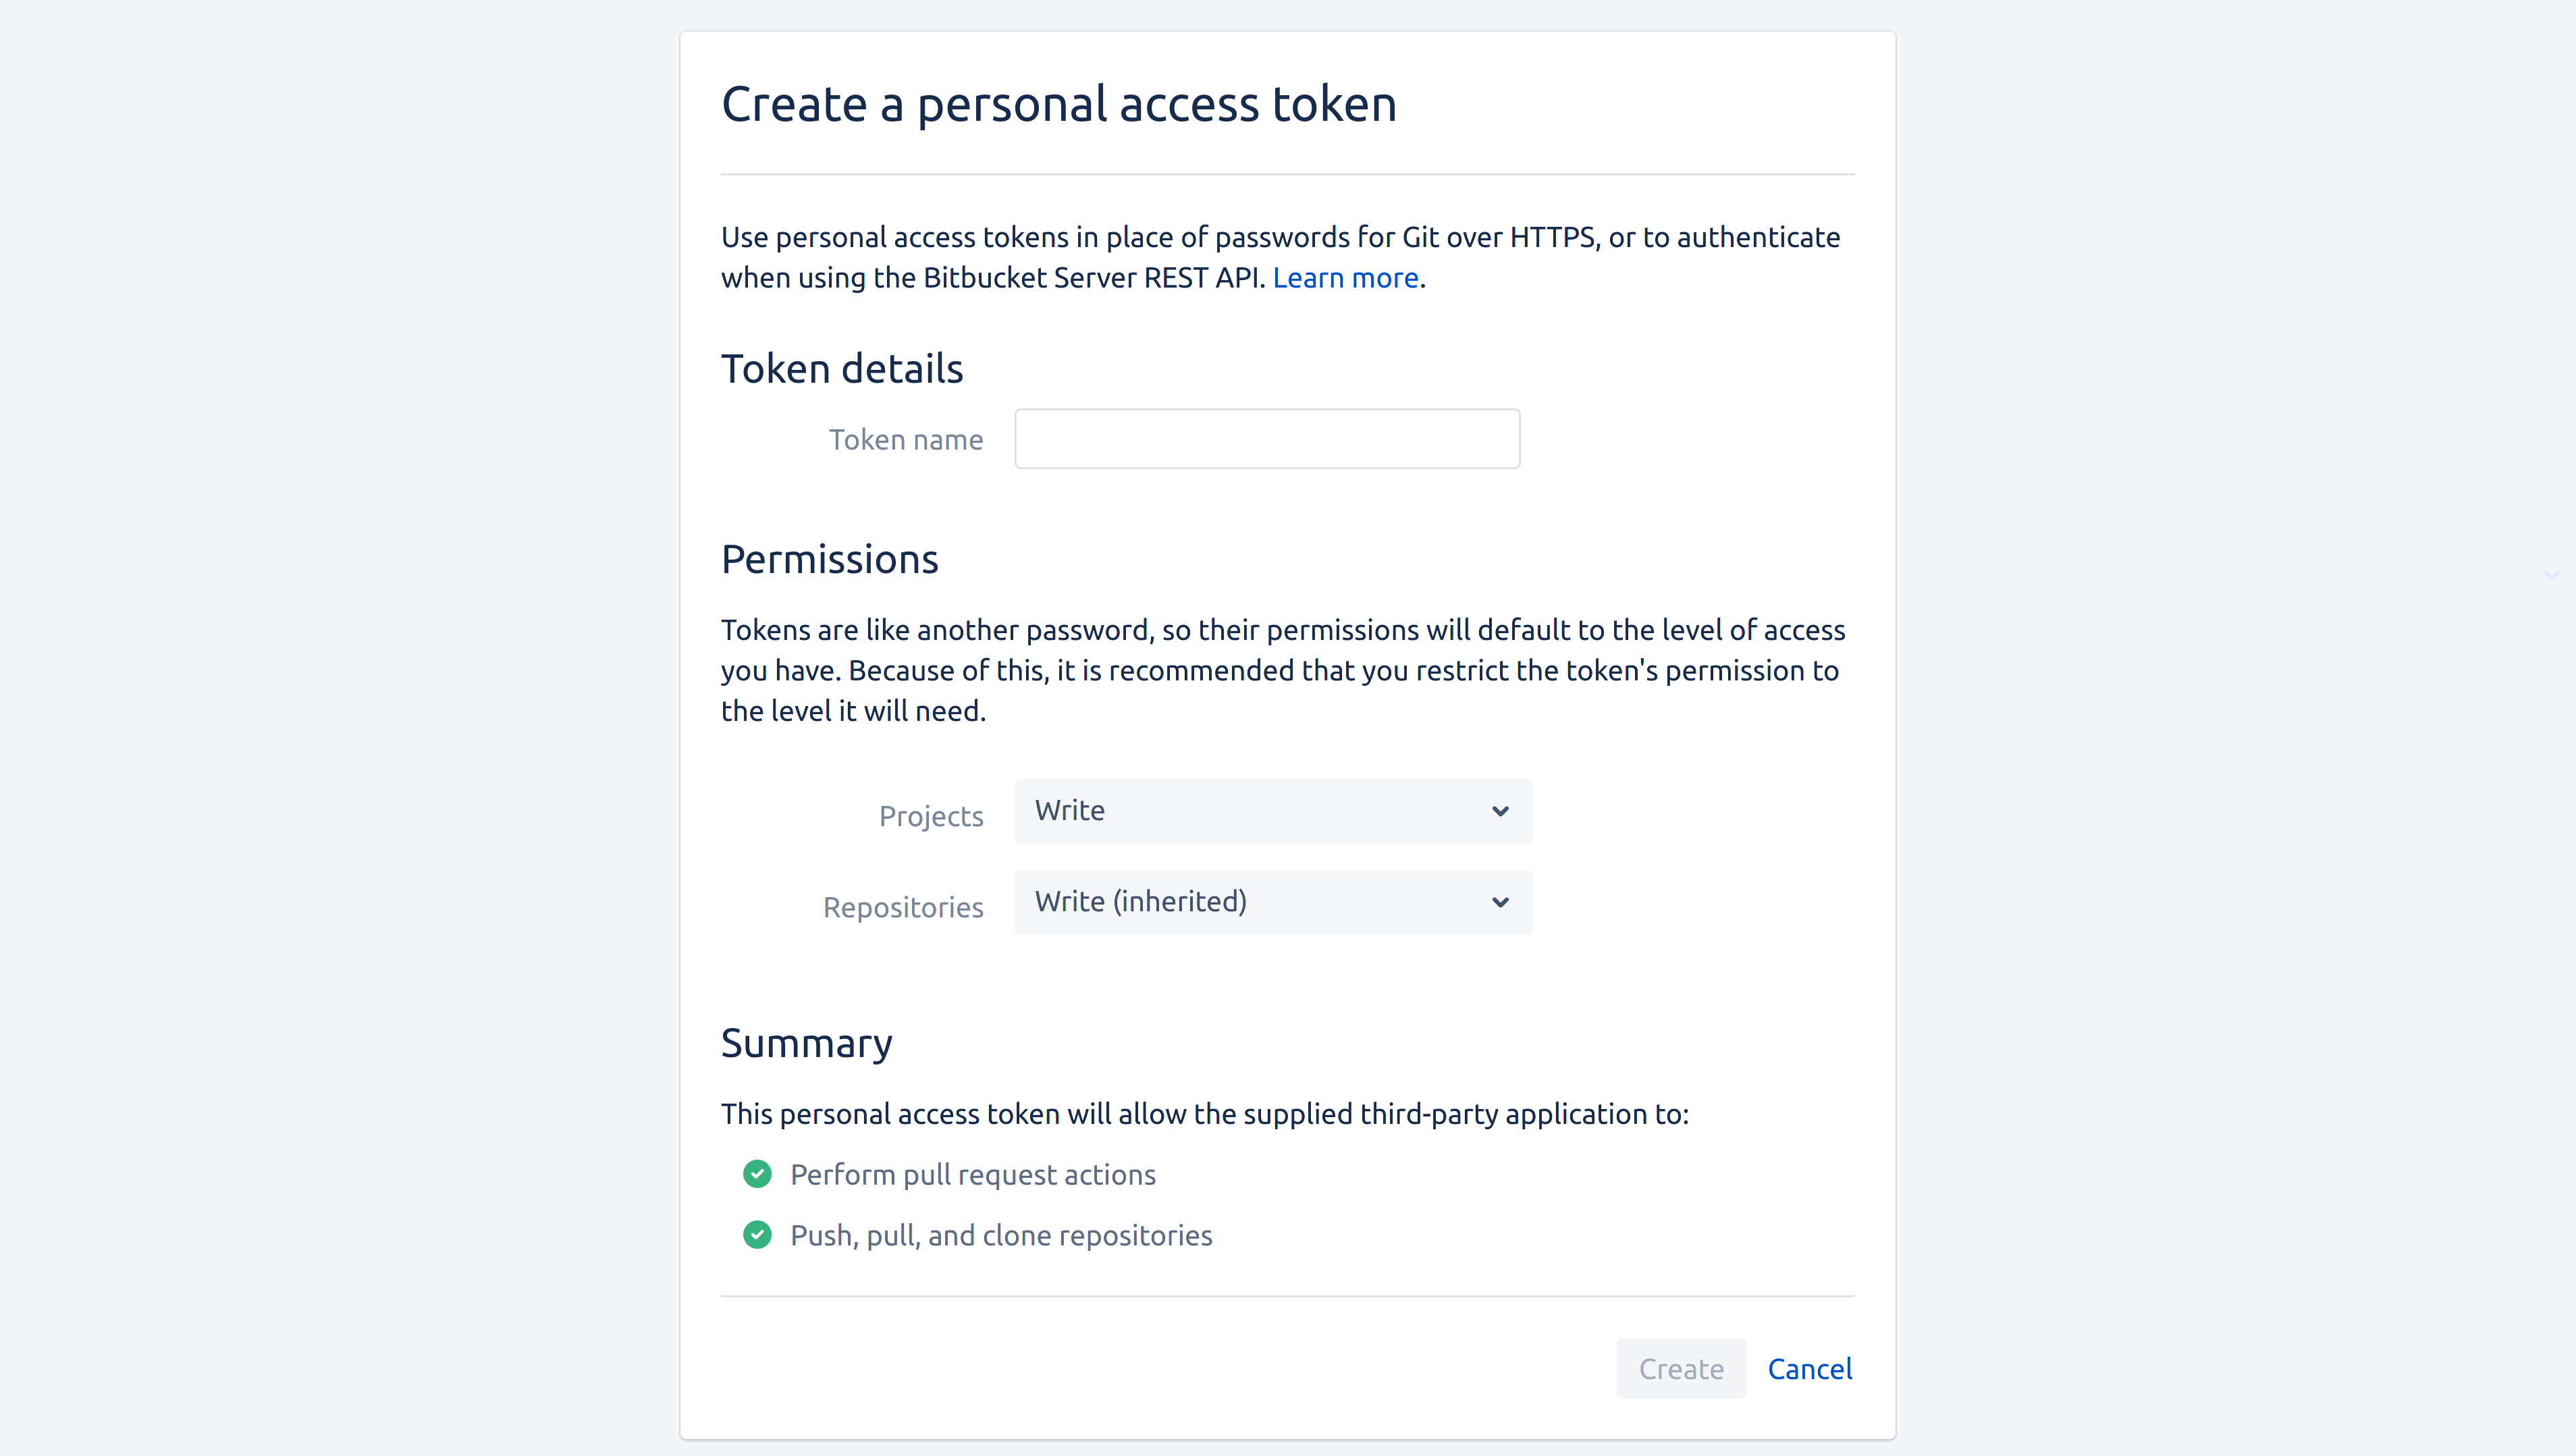
Bitbucket Server
In addition to the below, you should refer to Bitbucket Server's documentation on creating a personal access token.
Sourcegraph requires the access token to have the write permission on both projects and repositories. This is done by selecting the Write level in the Projects dropdown, and letting it be inherited by repositories:
Removing a personal access token
Removing personal access tokens is done through the the Campaigns section of your user settings. To access this page, follow these instructions (also shown in the video below):
- From any Sourcegraph page, click on your avatar at the top right of the page.
- Select Settings from the dropdown menu.
- Click Campaigns on the sidebar menu.
You should now see a list of the code hosts that are configured on Sourcegraph. Code hosts with tokens configured are indicated by a green tick, while code hosts without tokens have an empty red circle next to them.
To remove a personal access token for a code host, click Remove next to that code host. The code host's indicator will change to an empty red circle to indicate that no token is configured for that code host: